
Digging holes for fence posts puts a strain on the back, shoulders, and wrists, sometimes for several hours. The difficulty depends less on the chosen tool than on how the site is prepared and the posture adopted during work. This article details techniques that reduce physical effort at each stage, from marking the ground to the last hole.
Breaking the ground before drilling: the step that protects the back
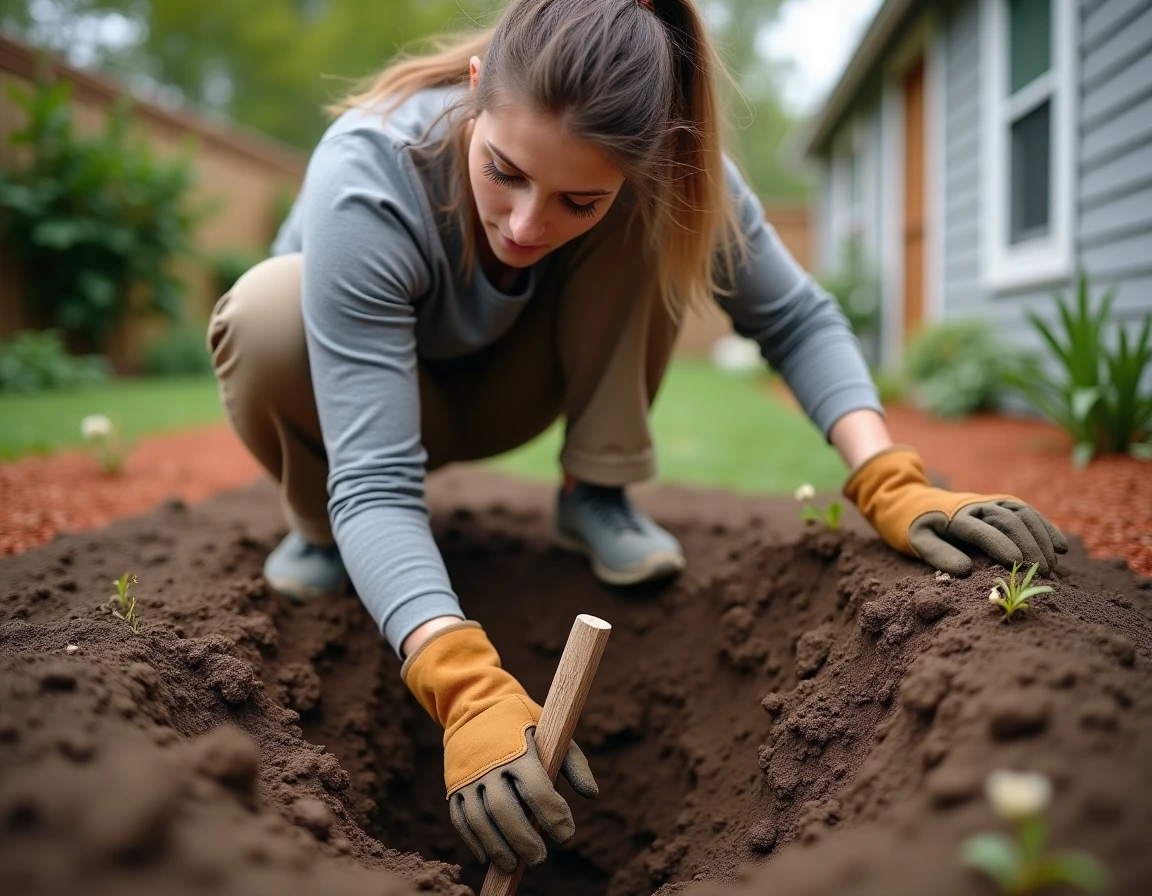
Attacking the soil directly with a post hole digger or a spade without preparing the surface forces you to exert effort from the very first centimeters. The top layer (grass, roots, soil compacted by foot traffic) offers much greater mechanical resistance than the soil deeper down.
See also : Tips and Inspirations for Organizing an Unforgettable and Personalized Wedding
Breaking the surface at each location with a pickaxe for about ten centimeters before using the drilling tool radically changes the level of effort. The pickaxe works by percussion: the energy comes from the weight of the tool and gravity, not from the lower back. Once this crust is removed, the post hole digger penetrates the loose soil without needing to apply all your weight.
To know precisely how to dig holes for fence posts according to your type of terrain, the sequence remains the same: break the surface, then drill. This method, common among landscapers, is rarely described in consumer tutorials that jump straight to the drilling tool.
See also : Medinilla: 6 Tips for Care
Digging posture and movements that limit strain
The natural reflex is to lean forward, rounding the back, to push the post hole digger down. This position compresses the lumbar discs and fatigues the paravertebral muscles in just a few holes.
Keep the back straight by bending the knees
Whether the tool is manual or powered, the basic rule remains the same: bend the knees, keep the torso vertical, and let the arms transmit the effort without compensating with the back. On a manual post hole digger with a double T-handle, both hands remain at hip height during rotation, which prevents raising the elbows above the shoulders.
Alternate sides and break up the series
Digging five holes in a row without a break creates asymmetrical fatigue. Alternating every other hole with a different task (clearing the excavated soil, positioning a pre-set post) allows muscle groups to recover. On a residential fencing project, this rotation significantly reduces pain by the end of the day.
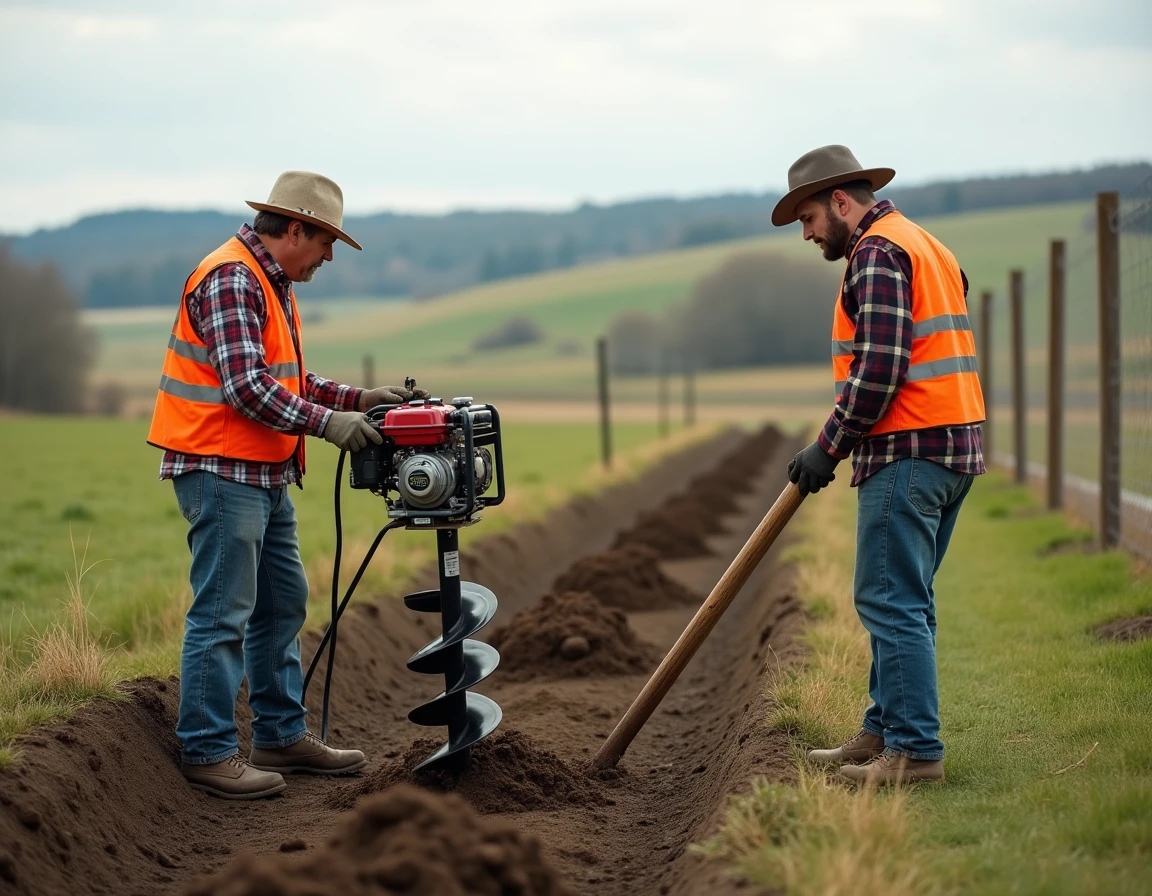
Battery-powered post hole digger: less vibration, less fatigue
Traditional guides pit manual post hole diggers against gas-powered ones, as if no alternative exists between the two. Battery-powered post hole diggers have become increasingly visible among tradespeople and landscapers in recent years.
Their main advantage for reducing strain does not come from the motor’s power, but from two physical characteristics:
- The level of vibrations transmitted to the hands and forearms is significantly lower than that of a gas-powered motor, delaying muscle fatigue on a job site with several dozen holes.
- The absence of exhaust fumes allows work to be done in close proximity to a home or shared wall without respiratory discomfort, thus avoiding forced interruptions.
- The weight is kept lower compared to gas models, making it easier to transport between two post locations.
The battery-powered post hole digger does not replace a gas model on very clayey or rocky soil, but on standard residential terrain, it meets most gardening and fencing needs.
Fencing project organization: align before digging
Poor alignment of holes often requires widening or re-digging several locations afterward. This additional work, rarely anticipated, represents a significant physical effort and lost time that tool-centered guides do not account for.
Marking with a chalk line
Setting two end posts and stretching a chalk line between them provides the reference line. Then marking each hole location with a line of chalk or marking paint ensures a visible reference even after the pickaxe has passed. This preparation takes a few minutes and eliminates the risk of having to correct an offset hole.
Group tools by area
Transporting a post hole digger, pickaxe, bucket, and pry bar across the entire length of the site between each hole creates tiring back-and-forth trips. Dividing the project into sections of four to five holes and moving all the equipment at once reduces unnecessary trips. This organizational detail changes the perception of overall effort on a long fencing line.
Tips for deep holes in difficult soil
Beyond a certain depth, extracting soil becomes the main issue. The post hole digger brings the soil to the surface, but the walls of the hole collapse in sandy soils, and the bit slips in compact clay.
- Watering the hole the day before digging softens the clay in the first few centimeters and facilitates the penetration of the bit. No need to flood: moderate watering is sufficient.
- Using a pry bar to break up stones encountered at depth avoids forcing the post hole digger, which protects both the tool and the wrists.
- Making a soil extractor with a split PVC tube allows you to clean the bottom of the hole without lying flat. These DIY solutions are common on job sites as soon as the depth exceeds arm length.
In very sandy soil, the walls collapse during digging. Working quickly hole by hole, placing the post and bracing it immediately after drilling, limits collapses and avoids having to clean each hole before installation.
Reducing strain on a fence post project relies more on site preparation and the organization of movements than on the price of the tool. Systematically breaking the surface, maintaining correct posture, and breaking up the work make the difference between finishing a project in a day and a week of soreness.